Swagger
개요
Swagger는 Restful 서비스 사용시 구현된 서비스에 대한 문서화를 지원하는 도구이다.
설명
목적
Restful 서비스를 구현한 경우 해당 API서버가 어떤 스펙을 가지고 있고 어떤 데이터를 주고 받는지에 대한 문서작업은 꼭 필요하다.
하지만 이런 문서작업은 상당한 시간을 사용하여 작성하여야 하고 API서버의 스펙이 변경되면 문서도 수정해 주어야 하기 때문에 관리가 여간 어려운게 아니다.
따라서 API 서버의 서비스를 작성하는것외에 문서의 작성과 유지보수를 위해 많은 시간과 비용이 발생한다.
Swagger는 이러한 Restful서비스의 문서작성과 유지보수에 대한 효율성을 높일수 있다.
특징
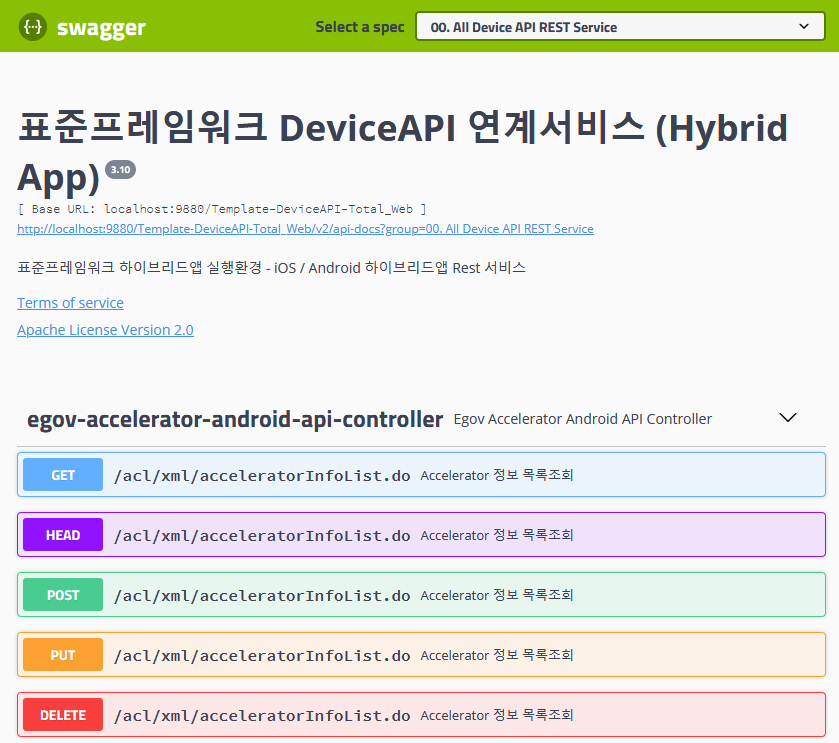
간단한 설정으로 Swagger UI를 구동시킬수 있다.
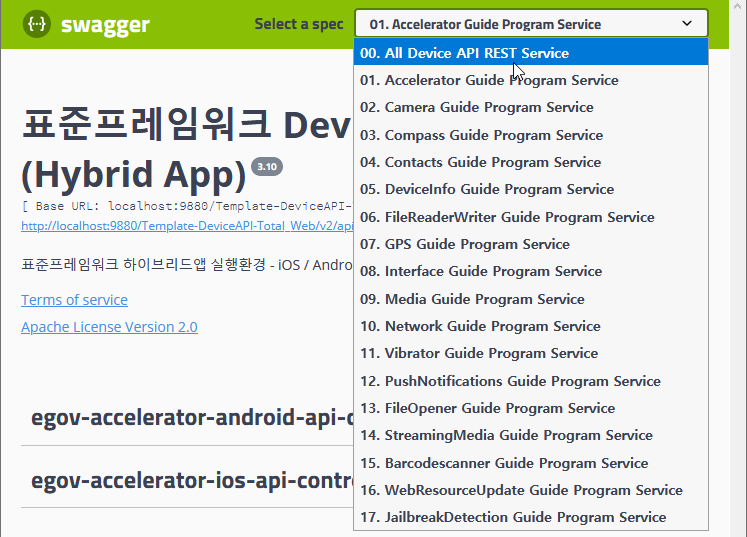
그룹별로 정리할수 있으며 간단한 정보를 안내할수 있다.
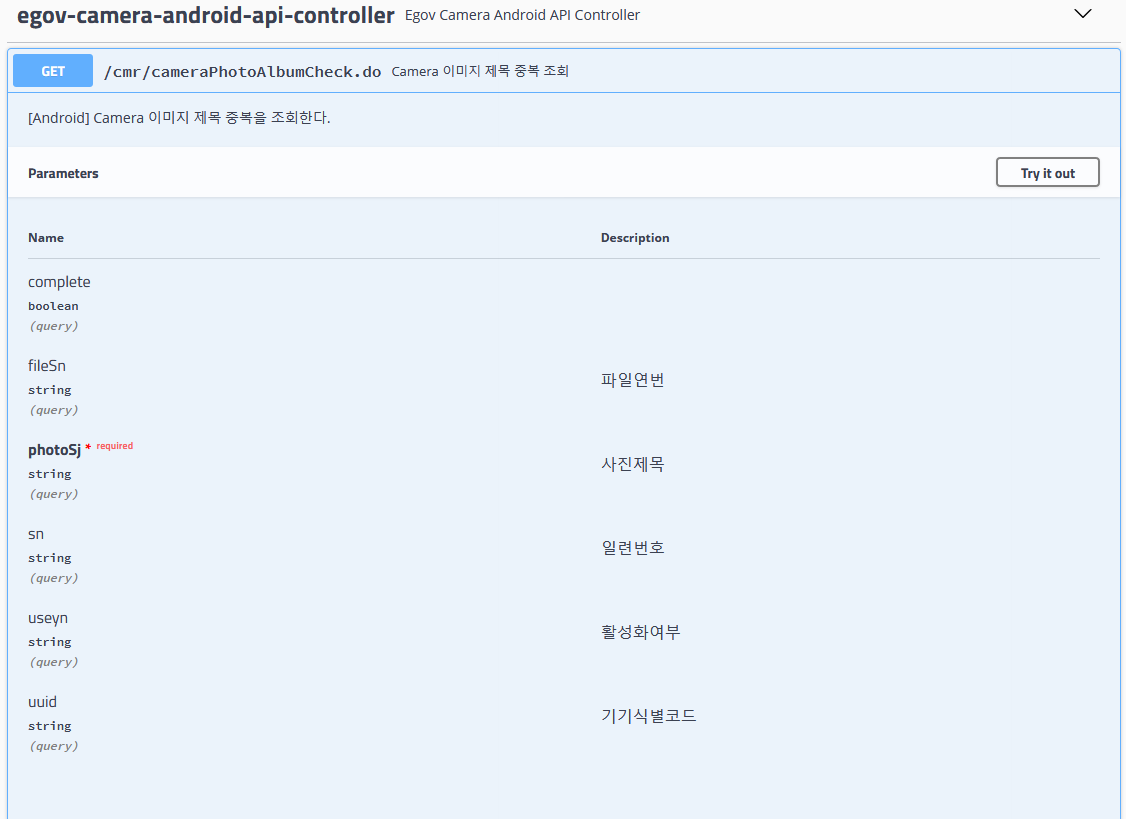
UI에서 전문의 각항목의 정의명을 표시해 줄수 있다.
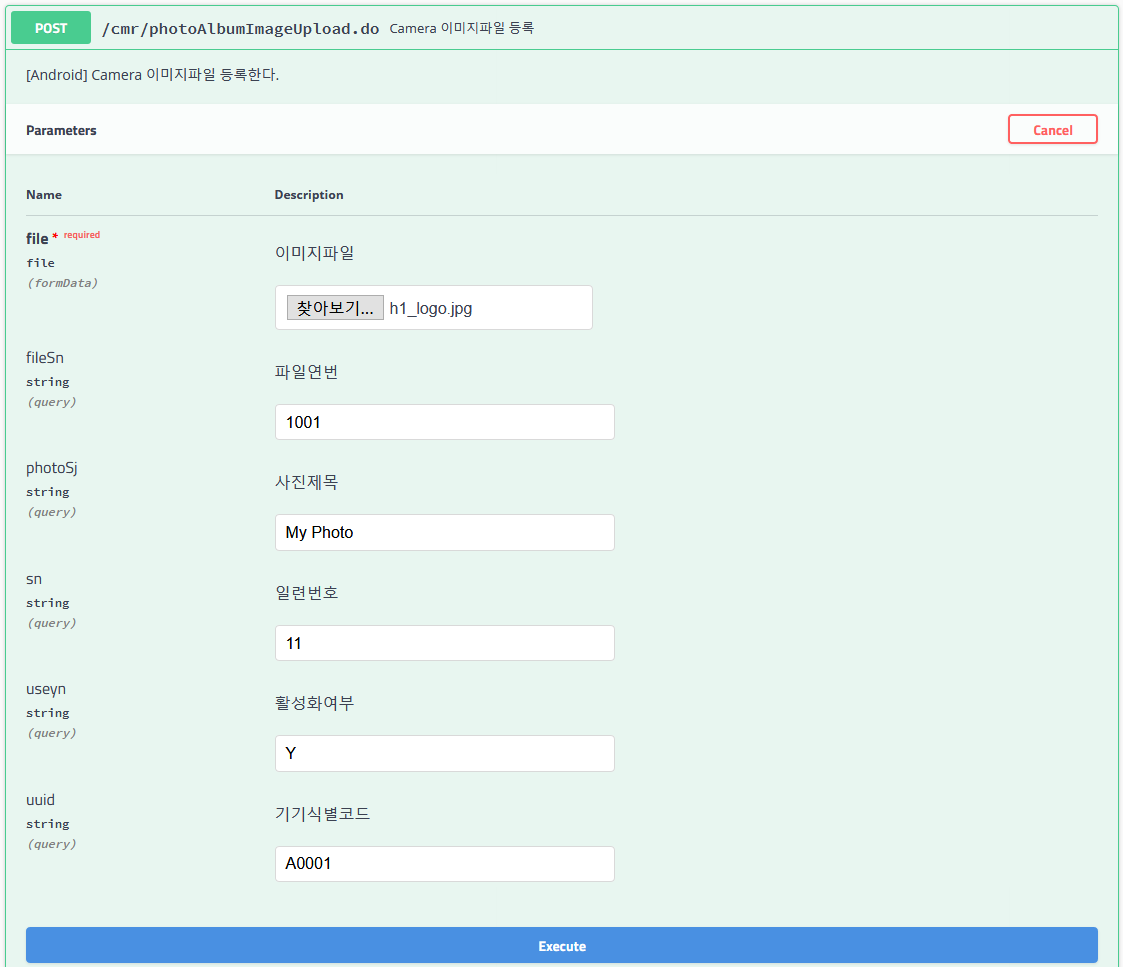
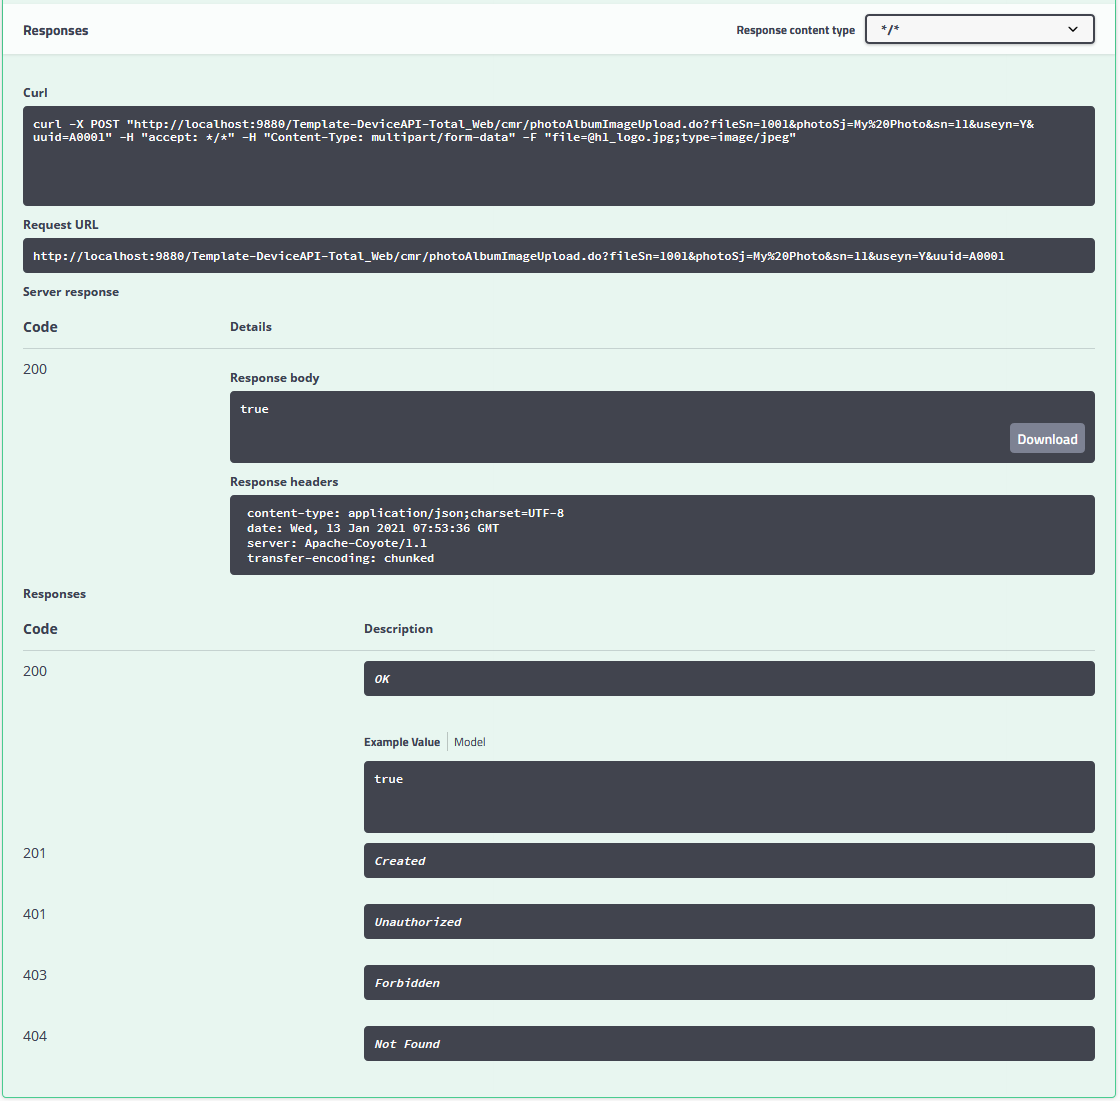
UI에서 테스트를 수행할수 있다. 각 항목의 입력은 물론 파일 업로드까지 테스트가 가능하다.
테스트 결과가 UI에서 즉시 표시된다.
설정방법
pom.xml 설정
	<dependency>
	    <groupId>io.springfox</groupId>
	    <artifactId>springfox-swagger2</artifactId>
	    <version>2.9.2</version>
	</dependency>

	<dependency>
	    <groupId>io.springfox</groupId>
	    <artifactId>springfox-swagger-ui</artifactId>
	    <version>2.9.2</version>
	</dependency>
swagger-servlet.xml 설정
    <context:component-scan base-package="egovframework">
        <context:include-filter type="annotation" expression="org.springframework.stereotype.Controller"/>
        <context:exclude-filter type="annotation" expression="org.springframework.stereotype.Service"/>
        <context:exclude-filter type="annotation" expression="org.springframework.stereotype.Repository"/>
    </context:component-scan>

	<bean id="swagger2Config"
		class="springfox.documentation.swagger2.configuration.Swagger2DocumentationConfiguration"></bean>

	<mvc:resources location="classpath:/META-INF/resources/"
		mapping="swagger-ui.html"></mvc:resources>
	<mvc:resources
		location="classpath:/META-INF/resources/webjars/"
		mapping="/webjars/**"></mvc:resources>
web.xml 설정
  <servlet>
    <servlet-name>swagger</servlet-name>
    <servlet-class>org.springframework.web.servlet.DispatcherServlet</servlet-class>
    <init-param>
      <param-name>contextConfigLocation</param-name>
      <param-value>/WEB-INF/config/egovframework/springmvc/swagger-servlet.xml</param-value>
    </init-param>
    <load-on-startup>2</load-on-startup>
  </servlet>
  <servlet-mapping>
    <servlet-name>swagger</servlet-name>
    <url-pattern>/swagger-ui.html</url-pattern>
    <url-pattern>/webjars/**</url-pattern>
    <url-pattern>/</url-pattern>
  </servlet-mapping>
SwaggerConfig 작성
@EnableSwagger2 어노테이션을 반드시 추가하여야 한다.
@Configuration
@EnableSwagger2
@EnableWebMvc
public class SwaggerConfig {

    @Bean
    public Docket newsApiAll() {
        return new Docket(DocumentationType.SWAGGER_2)
                .groupName("00. All Device API REST Service")
                .apiInfo(apiInfo())
                .select()
                .paths(PathSelectors.any())
                .build();
    }

    @Bean
    public Docket newsApiAccelerator() {
        return new Docket(DocumentationType.SWAGGER_2)
                .groupName("01. Accelerator Guide Program Service")
                .apiInfo(apiInfo())
                .select()
                .paths(regex("/acl.*"))
                .build();
    }

    private ApiInfo apiInfo() {
        return new ApiInfoBuilder()
                .title("표준프레임워크 DeviceAPI 연계서비스 (Hybrid App)")
                .description("표준프레임워크 하이브리드앱 실행환경  - iOS / Android 하이브리드앱 Rest 서비스")
                .termsOfServiceUrl("https://www.egovframe.go.kr/wiki/doku.php?id=egovframework:hyb:gate_page")
                .license("Apache License Version 2.0")
                .licenseUrl("https://www.egovframe.go.kr")
                .version("3.10")
                .build();
    }
}
